Task Scheduler in Workspaces
Task Scheduler allows you to schedule data management sequences that can run one or more data management steps within the application. You can reference the workspace path and sequence within the Task Scheduler to determine the tasks, sequences, or modifications are running correctly.
Display Task Scheduler in Workspaces
-
Under Application Tools > Task Scheduler, click New Task.
-
Enter the Name, Description, and Start Date/Time for the task.
-
On the Schedule tab, specify details for the task.
-
On the Advanced tab, select the number of times to retry a failed task.
-
Under Sequences, select the data management sequence under the workspace name and path, and click the OK button to add the task to the Grid View and the Calendar View.

NOTE: When selecting a data management sequence, if a workspace, a data management group, or a maintenance unit has no sequences in it, it will not display as an option to select under Sequences. If a workspace is not set to shareable, you cannot select the Workspace. .
-
Under the Task Scheduler > Calendar View, the new Task is added and listed.
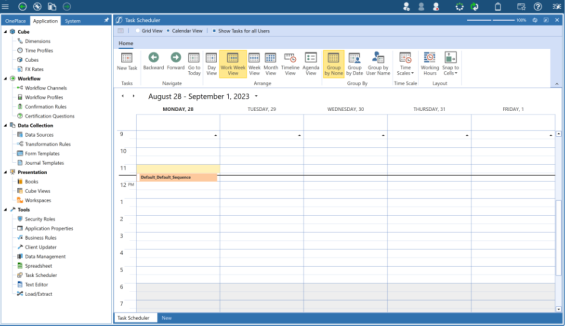
You can also view the workspace name and sequence name in the calendar pop under calendar view.

-
Under the Task Scheduler > Grid View, the task displays the Workspace and Sequence name.

NOTE: You will not be able to delete a sequence on the Workspaces or Data Management pages if it is assigned to a Task Scheduler item.