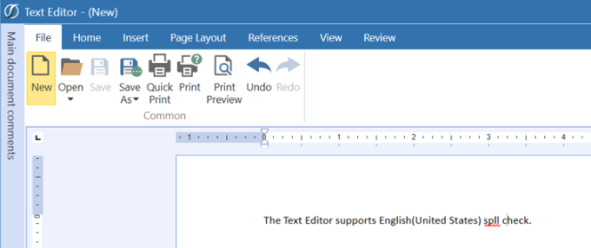
Text Editor Ribbon
The ribbon is organized as follows:
Common
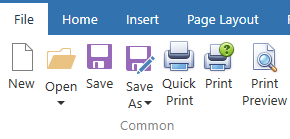
New
This creates a new text document. If clicked when an open document has unsaved changes, a window appears asking if the current changes should be saved before the new document is created.
Open
File type to open
Local Folder
Select a file to be opened from a location on the local computer/network
File System
Select a file to be opened from a location within the File Explorer
NOTE: Displayed files can also be opened from here or from OnePlace | Documents by right clicking and selecting one of the three options – “Open in Text Editor Page”; “Open” (opens file in Compatibility mode, directly in Word if the application is found on local computer,) or “Open With…” (user specifies program).
Application Dashboard File
Select a file to be opened from an Application Dashboard.
System Dashboard file
Select a file to be opened from a System Dashboard.
Save
Save changes to the open file using the current file name. Only available after the file has been given a name.
Save As
File type to be saved as
Local Folder
Select location on local computer/network to save a file to
File System
Select location within File Explorer to save a file to
Application Dashboard
Select Application Dashboard location to save a file to
System Dashboard file
Select System Dashboard location to save a file to.
Quick Print
Send the document to the default printer without changing any printer/printing properties.
Displays the Print dialog box for setting options to print the displayed document.
Print Preview
Displays the Print Preview dialog box that shows how printed document looks. The Print Preview Ribbon associated with this button remembers the setting used last that dictates if it is hidden or displayed. The next time Print Preview is opened, the Ribbon is initialized the same way it was left.
Clipboard
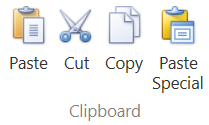
Paste
Inserts copied data into the document
Cut
Removes and transfers selected data from the document to the clipboard for placement in a different location.
Copy
Copies selected data to the to the clipboard for inclusion in a different location.
Paste Special
Displays the Paste Special dialog box for additional pasting options.
Font
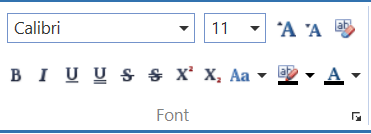
Provides options for changing the text found in the document. Examples include bold, italic, underline and text color.
Paragraph
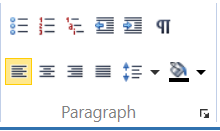
Provides options for formatting text in the document. Examples include bullets, numbering, indenting and paragraph alignment
Editing
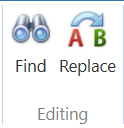
Find
Enter text to be located within the document.
Replace
Enter information to replace located text within the document.
Pages
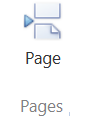
Page
Insert a page break at the current location within the document.
Tables
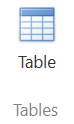
Table
Inserts a table at the current location within the document.
Table Styles
This toolbar within the Design tab only displays when working within a table.
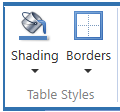
Shading
Used to add color to the background of the selected cells.
Borders
Used to customize the borders of the selected cells. Used in combination with the Pen Color button.
Draw Borders
This toolbar within the Design tab only displays when working within a table.

Pen Color
Used in combination with the Borders button. This button changes the color of the border lines selected when using the Borders button. Click this button first to select the border color, then use the Borders button to define where border lines should be displayed.
Table
This toolbar within the Layout tab only displays when working within a table.
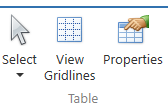
Select
Used to select the current cell, column, row or entire table.
View Gridlines
Used to show or hide the gridlines within a table. When turned on, the gridlines only appear where the display of cell borders has been turned off.
Properties
Used to display the Table Properties dialog box. Advanced formatting options such as margins, alignment, text wrapping, borders and shading can all be managed from here.
Rows & Columns
This toolbar within the Layout tab only displays when working within a table.
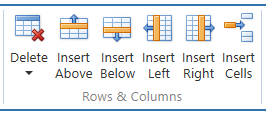
Delete
Used to delete cells, rows, columns or the entire table.
Insert Above
Used to add a new row directly above the selected cell.
Insert Below
Used to add a new row directly below the selected cell.
Insert Left
Used to add a new column directly to the left of the selected cell.
Insert Right
Used to add a new column directly to the right of the selected cell.
Insert Cells
Used to insert a single cell into the table. The Insert Cell dialog box appears, with options to shift cells right, shift cells down, insert an entire row or insert an entire column.
Sum Status Bar
If you highlight cells or group of cells in Spreadsheet, you can see the Average, Count, and Sum values at the bottom of the spreadsheet.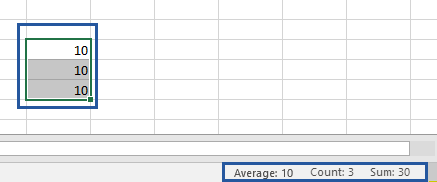
Merge
This toolbar within the Layout tab only displays when working within a table.
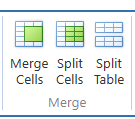
Merge Cells
Used when two or more cells are selected to join/merge them into one cell.
Split Cells
Used to split the selected cell(s) into smaller cells. The Split Cells dialog box displays and the number of new columns and rows needed can be entered.
Split Table
Used to split the table selected into two tables. The row that the selected cell(s) belongs to will become the first row of the new table that is created.
Cell Size
This toolbar within the Layout tab only displays when working within a table.
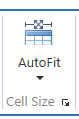
AutoFit
Used to automatically resize the width of the column based on the text within. Options include autofitting each cell based on the content within it, autofitting the table to take up the width of the window and setting the columns to a fixed width.
Alignment
This toolbar within the Layout tab only displays when working within a table.
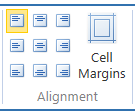
Various options are available to adjust the alignment of text with the table cells. Examples include align top left, center left, bottom left, top center, center, bottom center, top right, center right, bottom right. Cell margins and spacing can be set using the Cell Margins button.
Illustrations
Picture
Inserts a picture file at the current location within the document. Standard picture file options are available to select from.
Arrange
This toolbar within the Format tab only displays when an inserted picture has been selected.
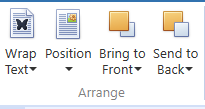
Wrap Text
Changes the way text wraps around the selected object. Six different wrap options are available including Square, Tight, Through, Top and Bottom, Behind Text and In Front of Text.
Position
Positions the selected object on the page. Text is automatically set to wrap around the object.
Bring to Front
Brings the selected object forward so that it is hidden by fewer objects in front of it. Three options are available including Bring Forward, Bring to Front and Bring in Front of Text.
Send to Back
Sends the selected object backward so that it is hidden by the objects in front of it. Three options are available including Send Backward, Send to Back and Send Behind Text.
Links
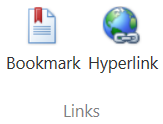
Bookmark
Creates a bookmark for selected text and assigns a name to that specific area of the document. Hyperlinks can be made to move directly to that location.
Hyperlink
Creates a link to a webpage, a file, an application, an email address or a place in the same document.
NOTE: To send an email enter the following in the address field – mailto:emailusername@domainhostname. For example, mailto:jdoe@onestreamsoftware.com
Header & Footer
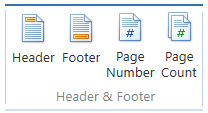
Header
Insert a Header into the document or go to the Header section if a Header already exists within the document.
Footer
Insert a Footer into the document or go to the Header section if a Header already exists within the document.
Page Number
Inserts the current page number, wherever the cursor is located within the Header/Footer areas of the document.
Page Count
Inserts the total number of pages in the document, wherever the cursor is located within the Header/Footer areas of the document.
Navigation
This toolbar within the Design tab only displays when working within the Header/Footer areas of the document.
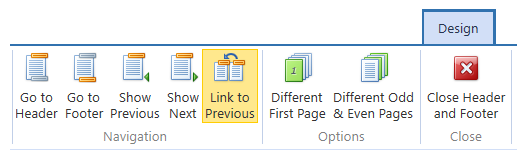
Go to Header/Go to Footer
Activates the Header/Footer section on the page so it can be edited.
Show Previous
If the document has been broken into sections, this navigates to the previous section’s Header/Footer.
Show Next
If the document has been broken into sections, this navigates to the next section’s Header/Footer.
Link to Previous
Creates a link to the previous section so the Header/Footer in this section contains the same content as the previous section.
Options
This toolbar within the Design tab only displays when working within the Header/Footer areas of the document.
Different First Page
Used to insert a unique Header/Footer for the first page only of the document
Different Odd & Even Pages
Used to insert different Header/Footers on even and odd pages.
Close
This toolbar within the Design tab is only displayed when working within the Header/Footer areas of the document.
Close Header and Footer
Used to close out of the Header/Footer Tools and return to the document.
Text
Text Box
Inserts a text box into the document.
Symbols
Symbol
Inserts standard characters and those not found on the keyboard into the document.
Page Setup
Margins
Used to set pre-defined or custom margin sizes for the entire document, or the current section.
Orientation
Used to change the pages between landscape and portrait layouts.
Size
Used to set the paper size for the current section.
Columns
Used to split the text into two or more columns.
Breaks
Used to insert page, column or section breaks (Next, Continuous, Even or Odd).
Line Numbers
Used to insert line numbers in the margins on each line of the document. Options include restarting numbering on each page, each section, suppressing numbers for current paragraph and custom settings.
Page Setup 
Opens the Page Setup dialog box where margins, orientation, paper size, headers/footers and header/footer placement can all bet set/edited.
Page Background
Page Color
Used to choose a background color for all the pages in the document.
Watermark
Insert and configure text and image watermarks within Text Editor documents. See Text Editor Watermarks.
Remove Watermark
Remove a watermark from the Text Editor document.
Table of Contents
Table of Contents
Used to create a Table of Contents for the document.
Add Text
Used to add the current paragraph into the Table of Contents
Update Table
Used to update the Table of Contents so that all entries reference the correct page number.
Captions
Insert Caption
Used to add a caption to a picture or another image. It is used to describe the object associated with it and appears below the object. Captions can be created for the following items:
Figures Caption
Used to add a caption to a figure or picture within the document.
Tables Caption
Used to add a caption to a table within the document.
Equations Caption
This option is not used or supported because equations cannot be created in the OneStream Windows App Text Editor.
Insert Table of Figures
Similar to the Table of Contents, this is used to insert a table that lists all the figures or tables that are contained in the document. The following types of tables can be created.
Table of Figures
Includes a list of all the Figures in the document that have captions associated with them.
Table of Tables
Includes a list of all the Tables in the document that have captions associated with them.
Table of Equations
This option is not used or supported because equations cannot be created in the OneStream Windows App version of Text Editor.
Update Table
Used to update the Table of Figures to include all entries within the document.
Protect
Protect Document
Used to add a password to the document, so that when protected, only users who know the password can edit the document or add comments. There are options for both of these, and only one can be implemented at a time.
Range Editing Permissions
This is not supported or used in the OneStream Windows App Text Editor.
Unprotect Document
Used to unprotect a document that has been locked for edited. Click the button and provide the previously created password to unprotect the document.
Comment
New Comment
Used to add comments to the document. Automatically numbers the comments as they are added to the document. The comment located at the top of the document is numbered 1 and additional comments are numbered sequentially down the document based on their position. If a comment is added or deleted, remaining comments in the document are automatically renumbered based on their location within the document.
Delete
Used to delete comments in the document. Options include the following:
Delete Comment
Used to delete the selected comment only.
Delete All Comments Shown
This option is not supported in the Text Editor for OneStream Windows App.
Delete All Comments
Used to delete all comments in the document.
Tracking
View Comments
Used to show Comments that have been added to the document. They will be displayed in a column on the right side of the document.
Reviewing Pane
Used to show/hide Comments within the document in a separate window. The window opens on the left side of the document and can be used to select comments.
Document Views
Draft View
Used to view the document as a draft for quicker editing. Certain features, such as Headers/Footers are not visible when using this view.
Print Layout
Used to show how the document will look on the printed page.
Simple View
Used to show the document as a simple memo. Page Layout features are ignored in this view.
Show
Horizontal Ruler
Used to display the Horizontal Ruler, which is used to measure and line up objects in the document.
Vertical Ruler
Used to display the Vertical Ruler, which is used to measure and line up objects in the document.
Zoom
Zoom Out
Used to change the view to see more of the page at a reduced size.
Zoom In
Used to change the view to get a close-up view of the document.
Spell Checking
A text spell check feature is available only when using the Windows Application. This feature is set as a default to be inactive. To enable the Spell Check feature, users must have access to the Application / Tools / Text Editor. In the Text Editor Tool, the Review ribbon will allow the user to activate Spell Check using the Spell Check button.
The Spell Check feature is enabled for English Culture only. The culture is determined by each user’s culture assigned in OneStream User Security. The culture is assigned to the OneStream application on the Application Server Configuration Utility as “en-US”. Users with cultures other than English (United States) will not have Spell Check available.
Spell Check in Text Editor
The Spell Check will be active as the user enters text, identifying any errors.
To access the Spell Check options, double-click to select the error, then a right-click will expose the Spell Check menu choices. Choosing the “Ignore” option will only be retained for the current session. Closing and re-opening to the edit mode will re-check any previously ignored items.

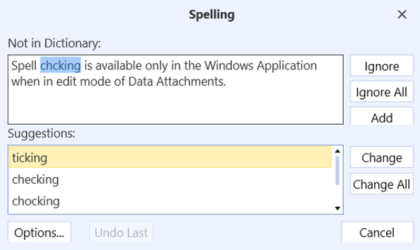
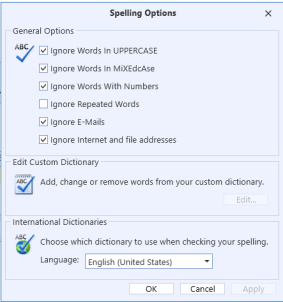
The Options button will allow the user to modify the Spell Check behavior within the current task session. The settings are not persisted as user preference.